
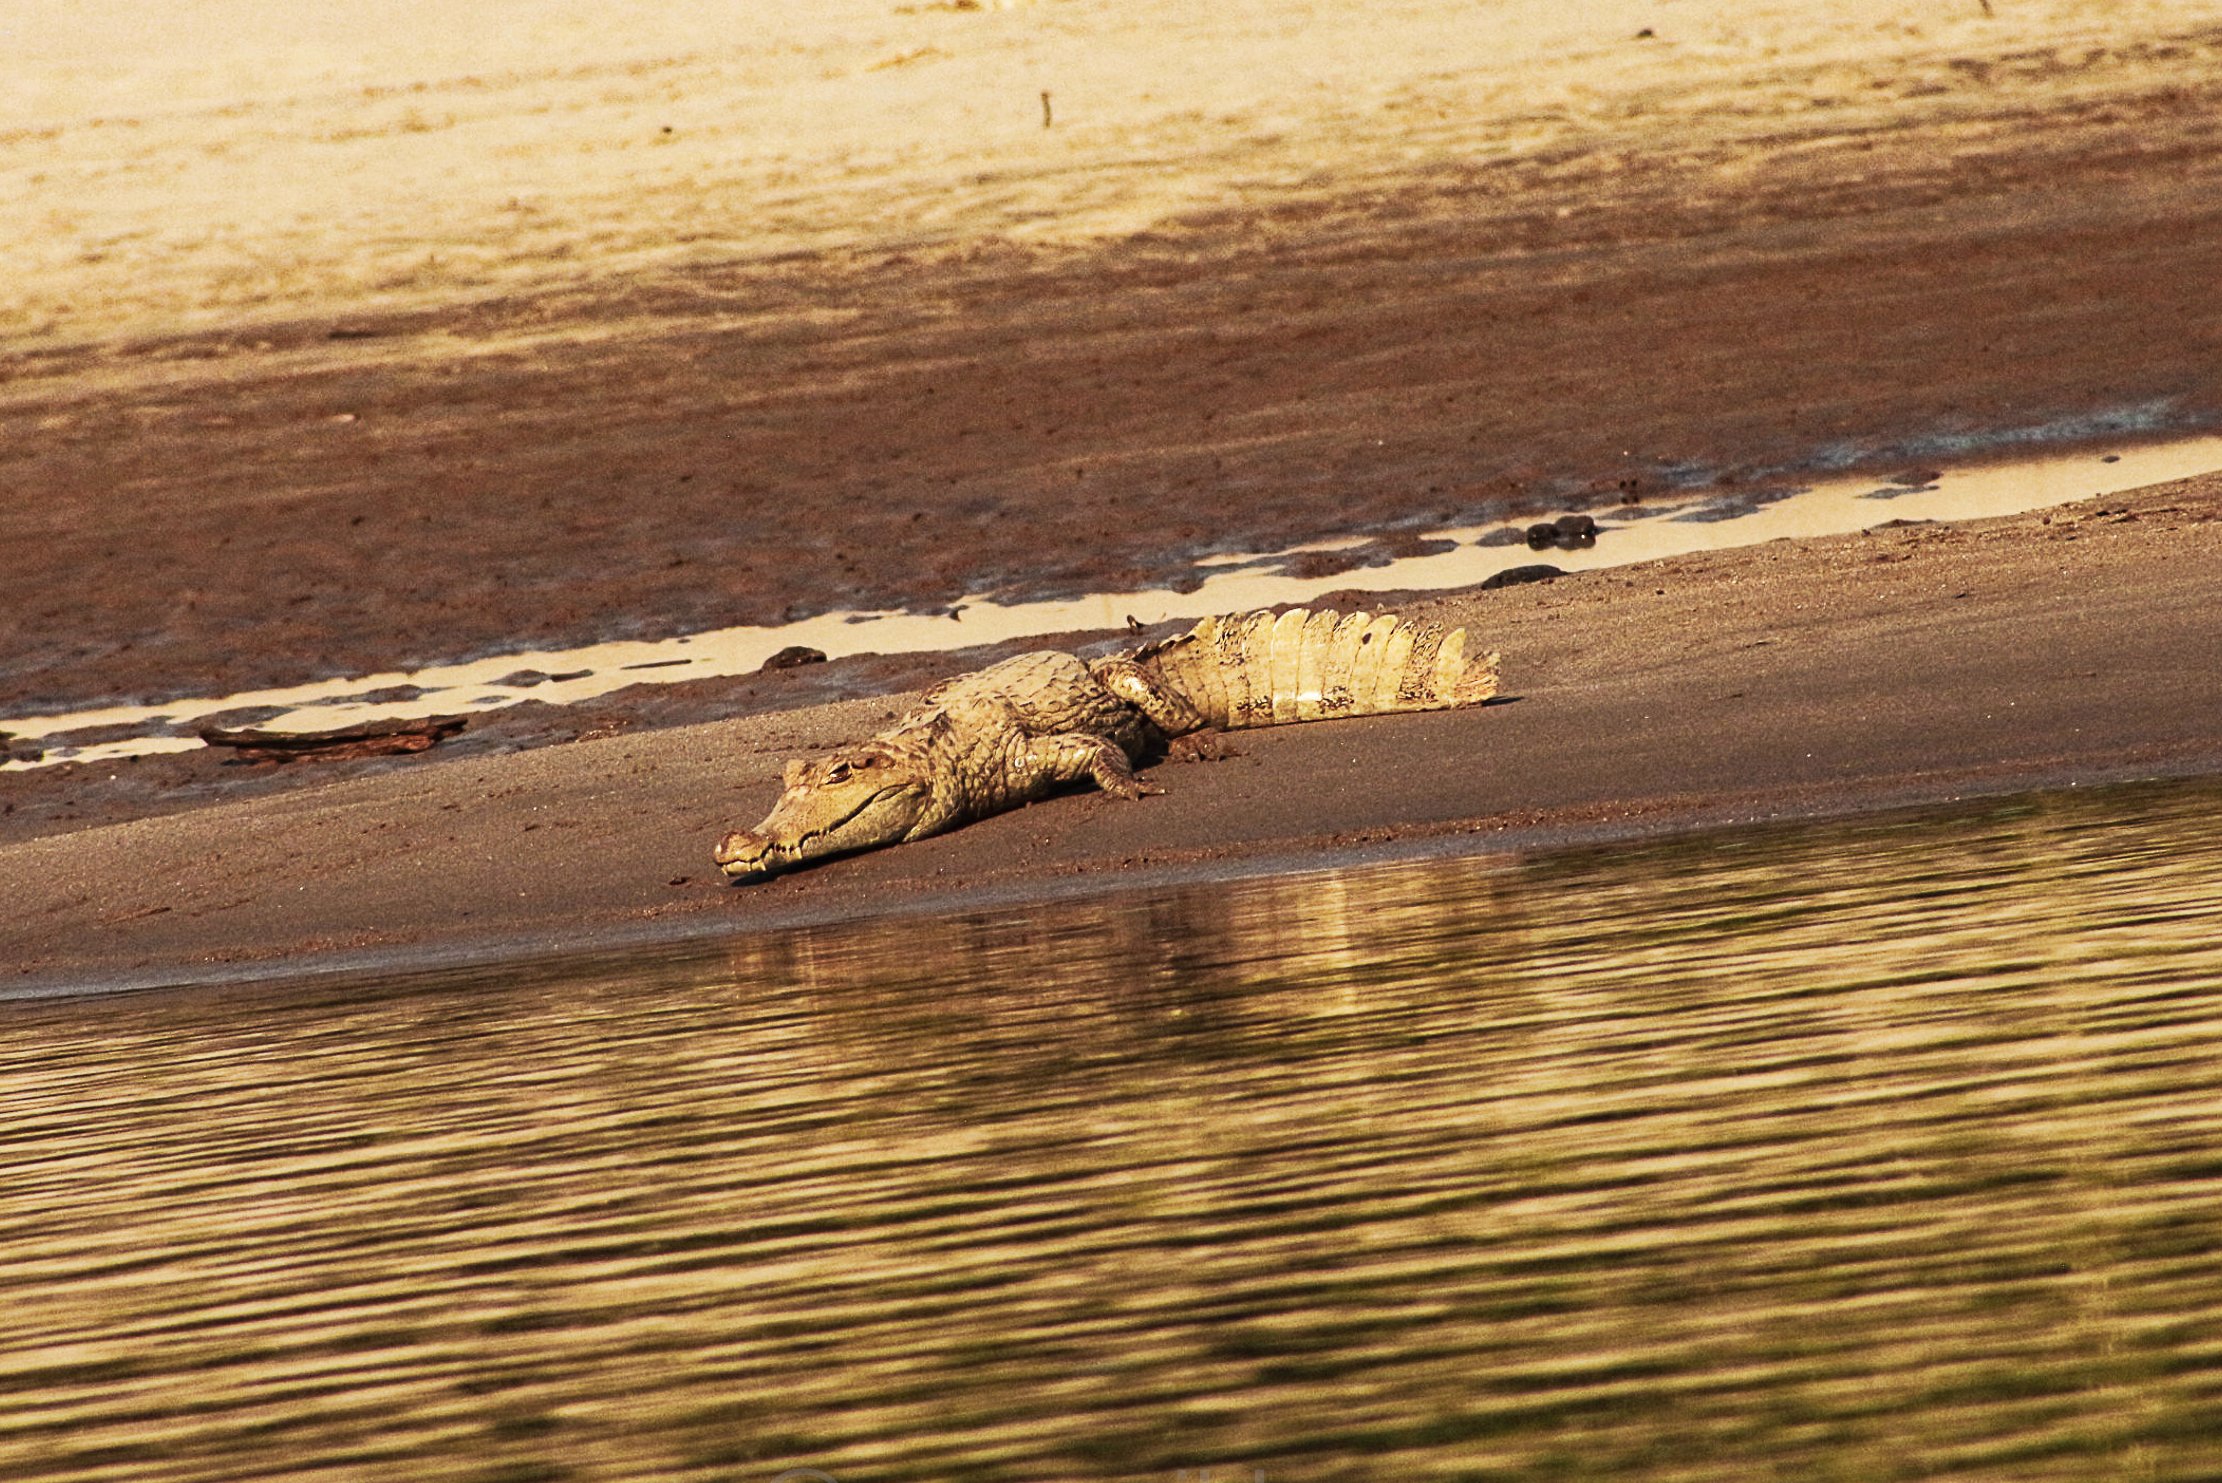
The Amazon rainforest is a photographer’s ultimate dream and a technical nightmare. It offers unparalleled biodiversity, vibrant colors, and incredible light, but it also presents extreme humidity, low-light understories, and fast-moving subjects.
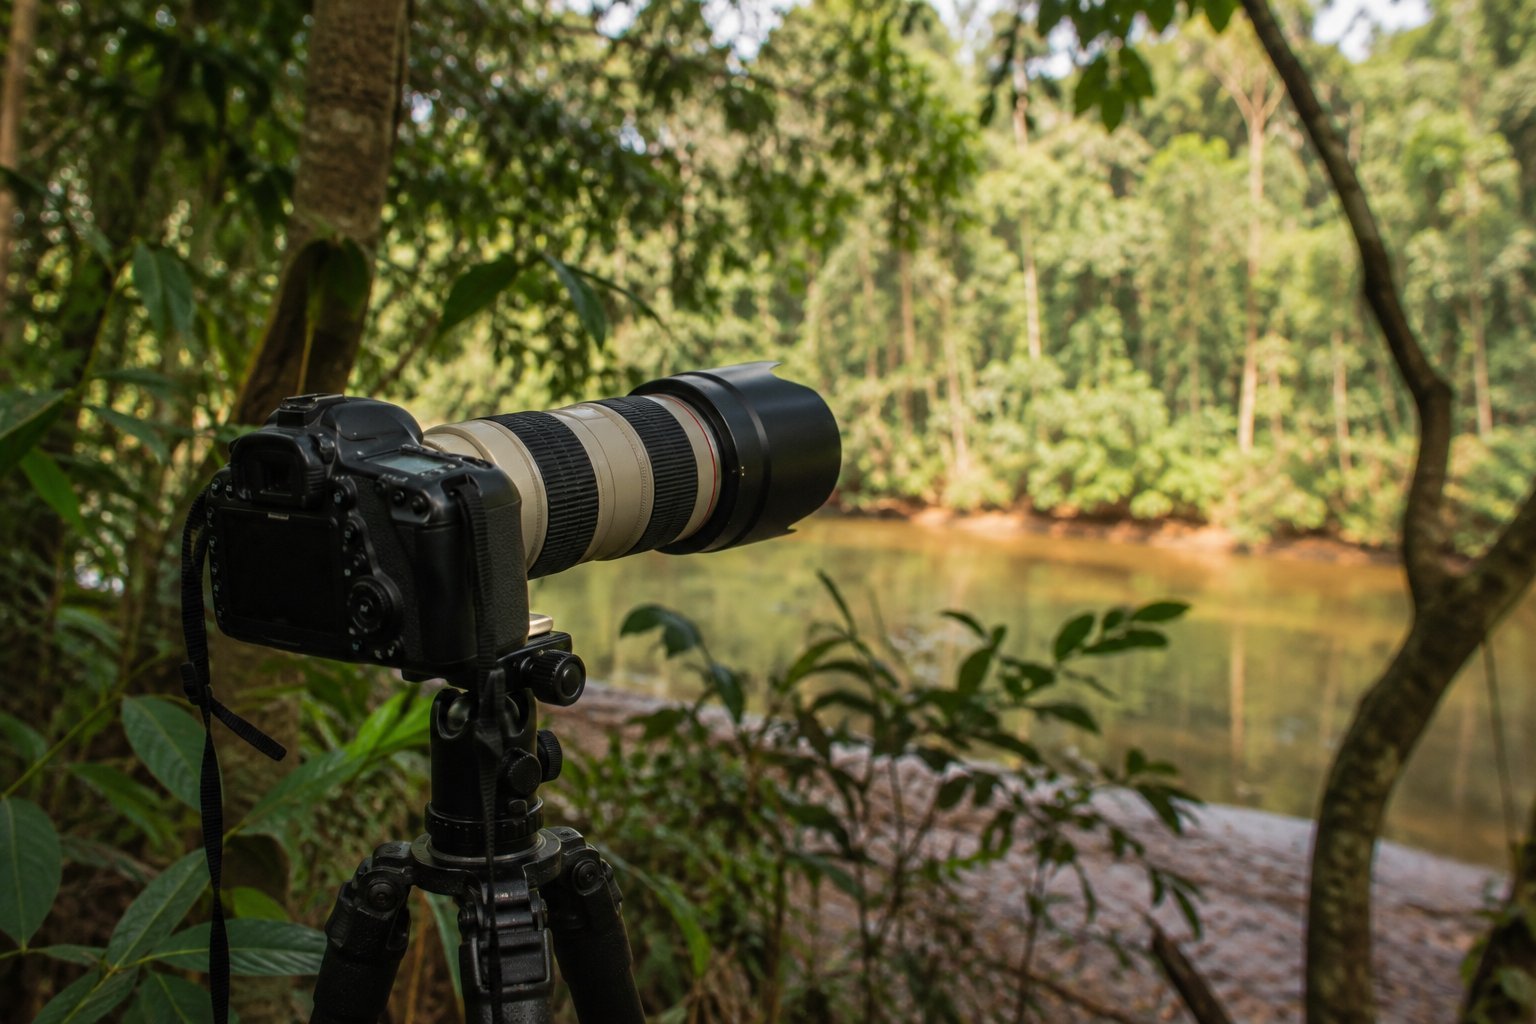
Whether you are shooting the chaotic spectacle of a Macaw Clay Lick or trying to capture a elusive jaguar in the shadows, success in the jungle requires the right preparation. In this comprehensive guide, we will break down the exact Amazon wildlife photography equipment you need and the camera settings to master the rainforest.
The Best Camera Gear for the Amazon Jungle
Choosing the right gear is about balancing focal length, low-light performance, and weather resistance.
1. Camera Bodies: Weather Sealing is Mandatory
The Amazon is essentially a giant, humid greenhouse. You need a camera body with robust weather sealing to protect against sudden downpours, river splashes, and constant moisture.
- Full-Frame vs. Crop Sensor (APS-C): Both work beautifully. However, a crop sensor (like a Canon R7 or Nikon Z50) gives you a 1.5x or 1.6x "reach" multiplier, which is incredibly useful for distant wildlife. Full-frame bodies (like the Sony A1 or Canon R5) offer superior high-ISO performance for the dark jungle understory.
- Dual Card Slots: Highly recommended. If one card fails in the remote jungle, you won't lose your entire trip's work.
2. Essential Lenses for the Rainforest
You cannot bring your entire studio to Manu. Here is the "Holy Trinity" for Amazon wildlife:
- The Workhorse (100-400mm or 150-600mm): This is your most important lens. It covers everything from distant birds in the canopy to mammals across the river. The 100-400mm is generally sharper and faster to focus.
- The Portrait Lens (70-200mm f/2.8): Perfect for the Macaw Clay Licks where birds get very close, and for capturing environmental portraits of your guides or the lush forest. The wide f/2.8 aperture is a lifesaver in low light.
- The Macro Lens (90mm or 100mm Macro): The Amazon's smallest creatures (poison dart frogs, leaf-cutter ants, orchids) are just as spectacular as the big mammals. A macro lens is a must-have.
Crucial Accessories You Cannot Forget
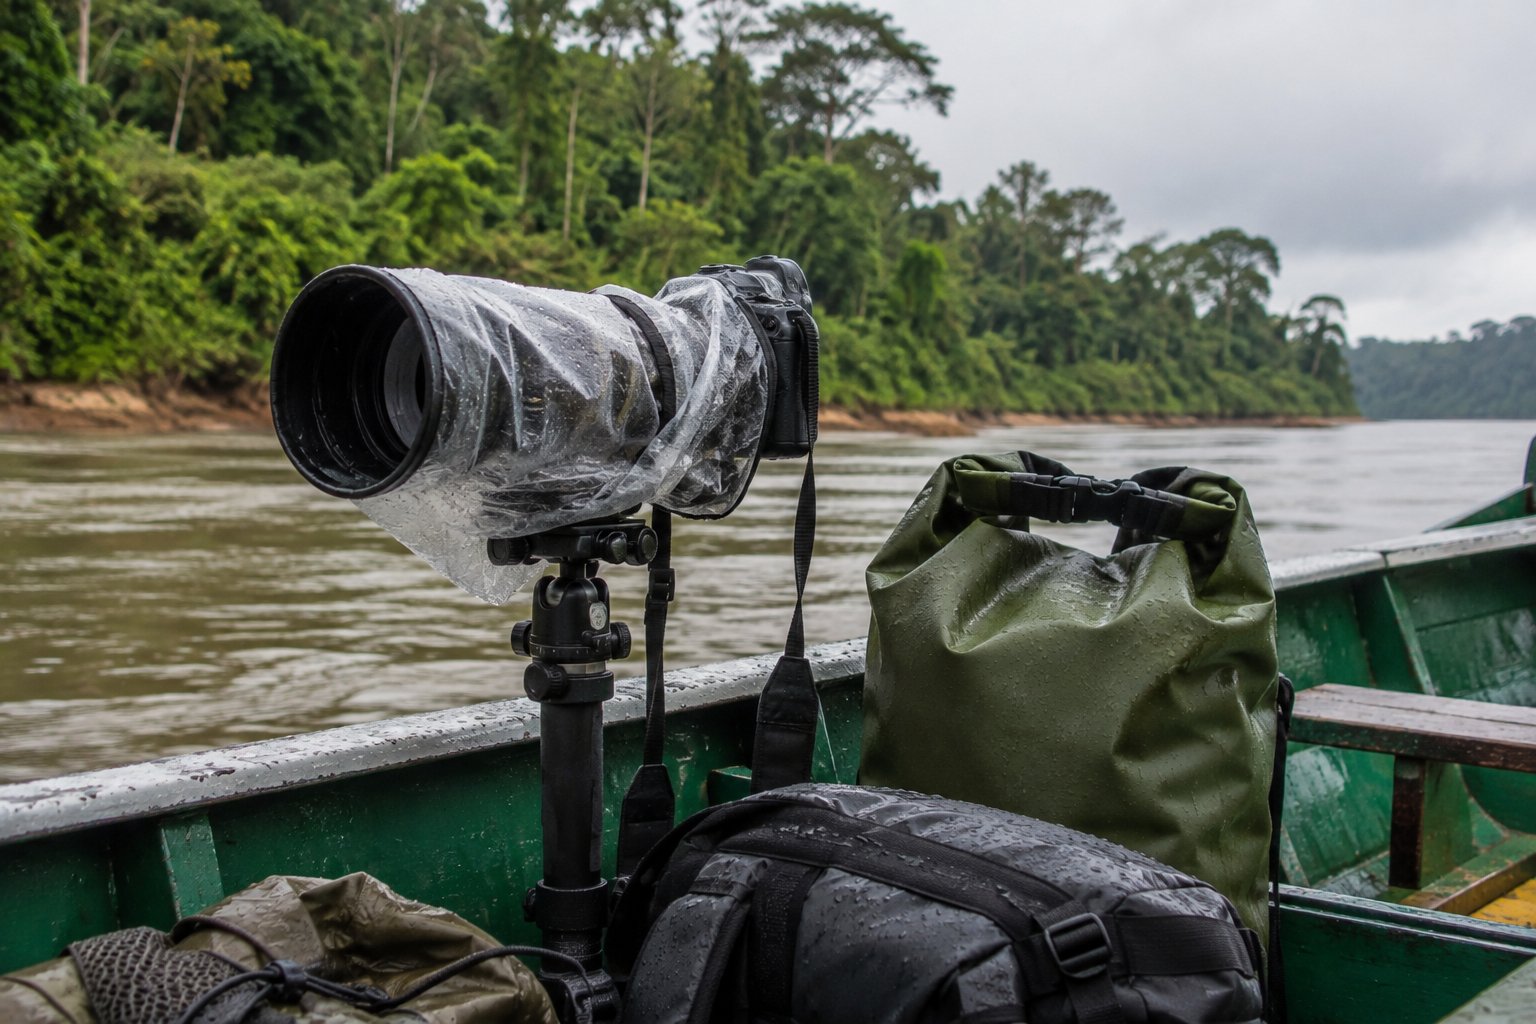
1. Protection from Humidity and Rain
- Rain Cover: A dedicated camera rain sleeve is mandatory. You can buy professional ones or make a DIY version with a plastic bag and a rubber band.
- Silica Gel Packs: Throw a few into your camera bag to absorb moisture. When you return to your lodge, put your gear in a dry box or a large plastic bag with more silica gel to prevent lens fungus.
2. Support: Bean Bags vs. Tripods
- Bean Bag: This is the secret weapon of jungle photographers. Tripods are often too bulky for narrow trails and are usually not allowed inside photography blinds at clay licks. A bean bag rests perfectly on the blind's ledge or the gunwale of a canoe, providing rock-solid stability.
- Monopod: A good compromise if you need mobility on hikes but still need support for heavy lenses.
3. Power and Storage
- Extra Batteries: Humidity and cold mornings drain batteries faster. Bring at least 3-4 per camera body.
- High-Capacity SD/CFexpress Cards: You will be shooting in burst mode. Bring plenty of 128GB or 256GB cards.
- Portable Power Bank: Electricity in jungle lodges is often limited to a few hours in the evening. A high-capacity power bank (20,000mAh+) is essential for charging batteries and phones.
Camera Settings for Jungle Wildlife Photography
The lighting in the Amazon changes drastically from the bright canopy to the pitch-black forest floor. Here is how to dial in your settings.
1. Shutter Speed: Freeze the Action
Wildlife in the Amazon is fast. Birds take off instantly, and monkeys swing rapidly.
- Birds in Flight / Action: 1/2000s to 1/4000s.
- Perched Birds / Active Mammals: 1/800s to 1/1250s.
- Static Subjects / Landscapes: 1/250s or slower (use a tripod/bean bag).
2. Aperture: Isolate Your Subject
The jungle background is often a chaotic mess of branches and leaves. You need to separate your subject.
- Wide Open (f/2.8 to f/5.6): Use this to blur the busy background (bokeh) and let in maximum light. This is ideal for the dark understory.
- Mid-Range (f/8 to f/11): Use this when you need more depth of field, such as when photographing a group of animals or a landscape at the clay lick.
3. ISO: Don't Fear the Noise
A sharp, noisy photo is always better than a blurry, clean one. Modern cameras handle high ISO remarkably well.
- Bright Canopy / Clay Lick: ISO 400 - 800.
- Forest Understory / Overcast Days: ISO 1600 - 3200.
- Deep Jungle / Dawn & Dusk: ISO 6400+ (if your camera supports it).
4. Autofocus: Track the Movement
- Mode: Always use Continuous Autofocus (AI-Servo for Canon, AF-C for Nikon/Sony).
- Technique: Use Back-Button Focus. This separates focusing from the shutter button, allowing you to track a moving bird continuously without the camera trying to refocus every time you take a shot.
Amazon Photography Settings Cheat Sheet
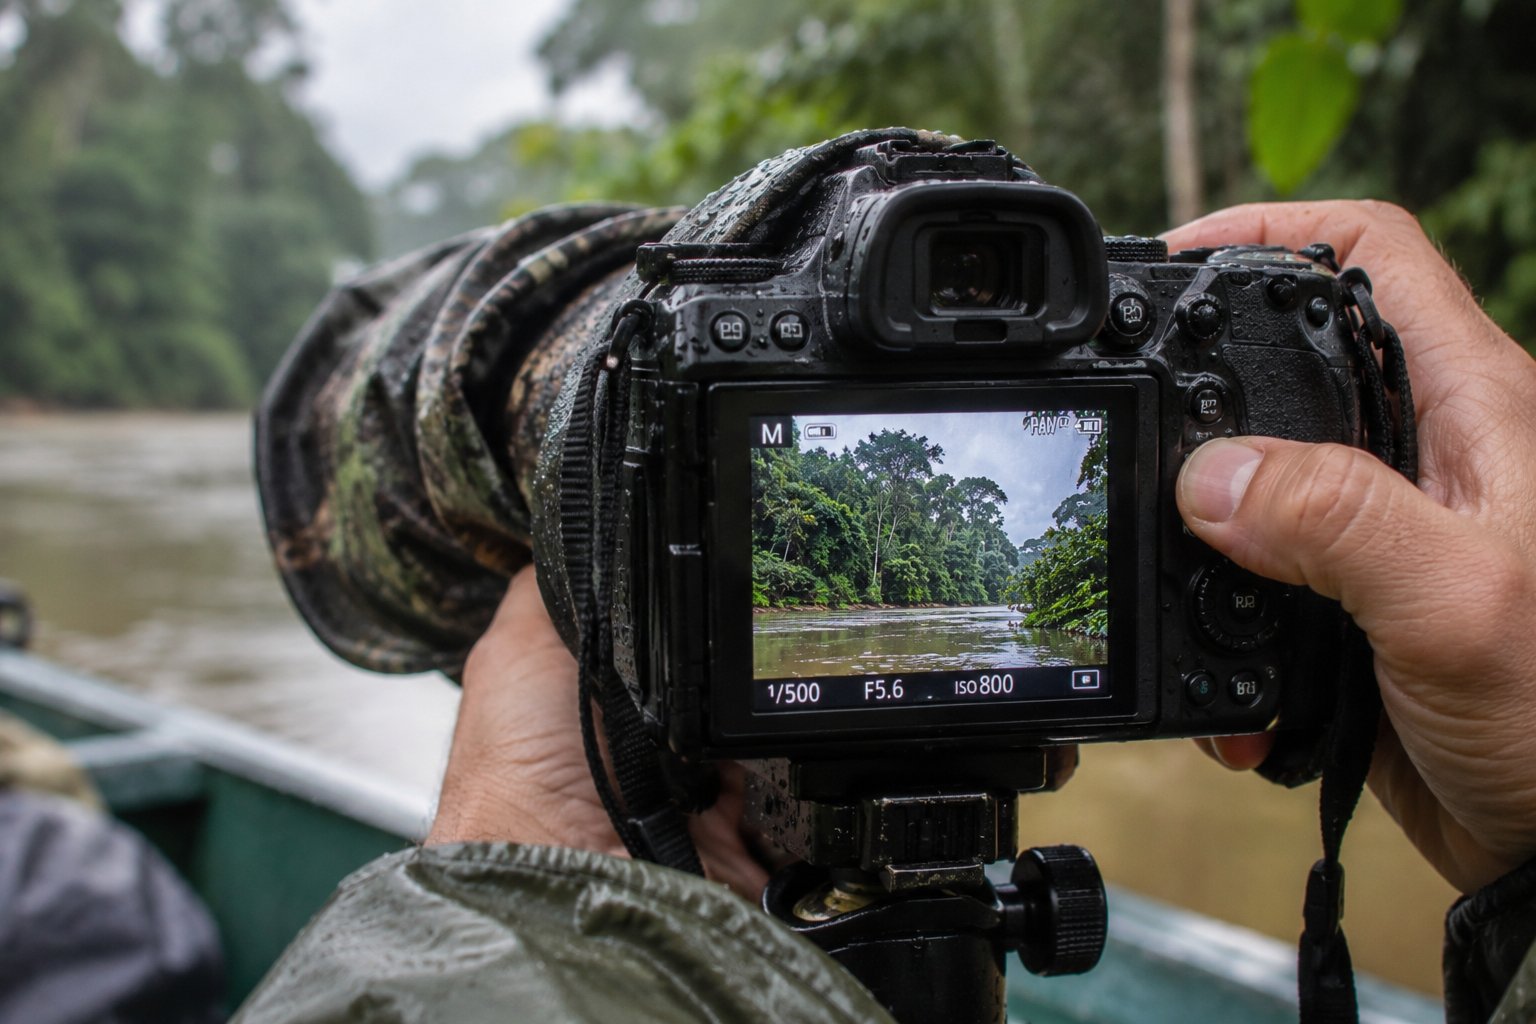
Here is a quick reference guide for the most common scenarios you will face in Manu National Park:
| Scenario | Shutter Speed | Aperture | ISO | Focus Mode |
|---|---|---|---|---|
| Macaw Clay Lick (Action) | 1/2000s | f/5.6 - f/8 | 800 - 1600 | Continuous AF (Wide) |
| Mammals on the Ground | 1/800s | f/4 - f/5.6 | 1600 - 3200 | Continuous AF (Single Point) |
| Birds in Flight | 1/2500s+ | f/5.6 - f/8 | 1600 - 3200 | Continuous AF (Tracking) |
| Macro (Frogs/Insects) | 1/250s | f/8 - f/11 | 800 - 1600 | Manual Focus / Single AF |
| Cloud Forest Landscape | 1/125s (use tripod) | f/8 - f/11 | 100 - 400 | Single AF |
Ethical Photography in the Amazon

As wildlife photographers, our primary duty is to the animal. The stress of a photograph is never worth the shot.
- No Flash: Never use flash on nocturnal animals or birds in nests. It can blind them or cause them to abandon their young.
- Respect Distances: Use your telephoto lens. If an animal changes its behavior because of your presence (stops eating, stares at you, tries to hide), you are too close.
- No Baiting: Never use food or calls to lure wildlife. It alters their natural foraging habits and makes them vulnerable to predators.
Frequently Asked Questions (FAQ)
Can I bring a drone to photograph the Amazon canopy?
No. Drones are strictly prohibited in Manu National Park and all Peruvian protected areas. They cause immense stress to wildlife, particularly birds and monkeys. Leave your drone at home to avoid heavy fines and confiscation.
How do I protect my camera from extreme humidity?
Use a rain cover when outside, and when you bring your gear indoors, place it in a large plastic bag or a dedicated dry box with silica gel packs. This prevents condensation from forming on the internal electronics and lens elements, which can lead to fungus.
Is a tripod necessary for a Manu photography tour?
A heavy tripod is usually more of a hindrance than a help on jungle trails. A sturdy monopod or a large bean bag is much more practical. Note that most photography blinds at clay licks do not allow tripods due to space constraints.
What is the best time of day for wildlife photography in Manu?
The "golden hours" (first and last two hours of daylight) offer the best light and the most active wildlife. Midday is usually too harsh for photography and too hot for animals, making it a good time to rest or shoot macro subjects in the shade.
Ready to Capture the Magic of the Amazon?
Having the right gear and settings is only half the battle. The other half is being in the right place at the right time, guided by experts who know exactly where the wildlife hides.
At Manu Wild, we offer specialized expeditions designed specifically for photographers, providing optimal positioning, early access to clay licks, and guides who understand the needs of a photographer.
Explore Our 5-Day Manu Photography Tour →
Have specific questions about gear or our photography itineraries? Contact our team → and let's plan your ultimate Amazon photo expedition.